Iconometer #48
How It’s Made.After #48 was mailed, John Deason (Subscriber 1998), asked me a couple of questions about how the issue was put together. I thought others might be interested in how the issue was put together, step by step.
You can link to the original blogpost here: https://edwinjager.blogspot.com/2017/02/edwin-jager-iconometer-48-look-what-i.html
The
original document was seven, single-sided, 8.5x11" pages. The overall
dimensions and number of pages were too large to fit into the scale of
Iconometer so I reproduced the document at a smaller size with double-sided
pages. The whole thing was then quarter-folded to be placed in an envelope.
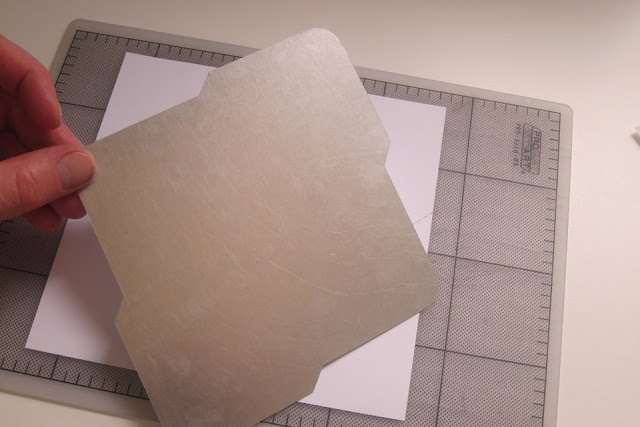
For
trimming custom shapes, I like to make templates out of used aluminum
lithographic plates. It’s soft enough that I can use a knife and scissors to
cut the initial shape but it holds up pretty well to fine x-acto knife blade.
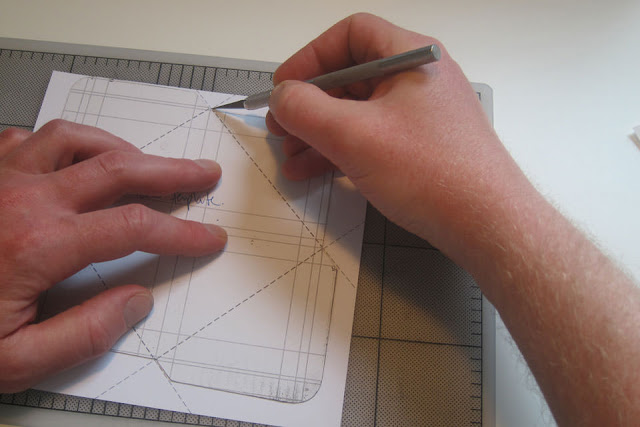
I printed
out a proof of the envelope and spray-mounted it to the back of the plate. This
served as a guide for cutting out the initial template and also to register the
template with the fold lines that were printed on the envelope flats.
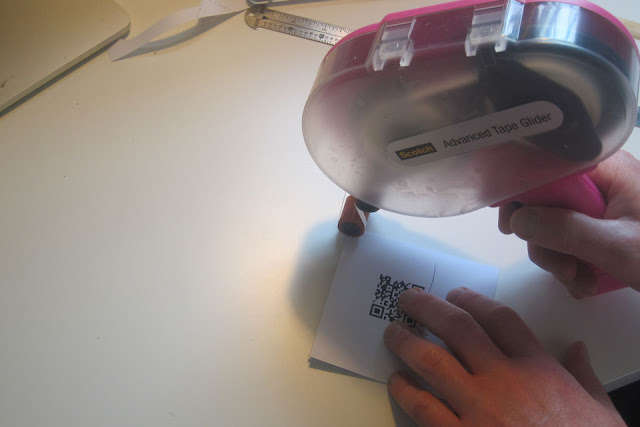
Another tool I bought for this project was a new double-sided tape gun. It’s a bit unwieldy but it lays down a fairly narrow strip of thin, double-sided adhesive. I used this to apply tape to the envelope seams before I folded the flaps and assembled that part of the project.
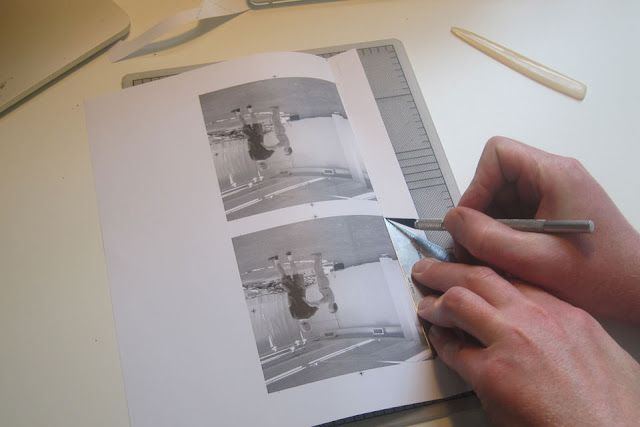
I also used
the tape gun to apply a strip of adhesive to the back of the last page, along
the fold that had been previously scored. The last page is printed
double-sided, 2-Up.
The
pages were then cut out and tipped onto the envelope.

The covers
for Iconometer are printed, 2-Up, on a special, laser-printer compatible,
double-sided, frosted imaging film (mylar). I also use it for screen printing
stencils ( http://www.grafixarts.com/products/impress-print-media/
). Most importantly, this substrate allows me to print the graphics on the
inside of the covers and prevent the toner from being damaged. For this issue,
the cover graphics were modified with a QR code. An additional spine fold was
added to accommodate the thickness of this issue. The head and tail of the
covers were also trimmed at this time.
Tape
was applied and the entire envelope/booklet assembly was tipped onto the
inside, back, mylar cover.

Finally,
the foredge was trimmed. I did this last to account for variations in placement
of the booklet in the mylar cover.
Iconometer
#48!
Get your copy here: http://mynameizedwin.storenvy.com/







Comments
Post a Comment